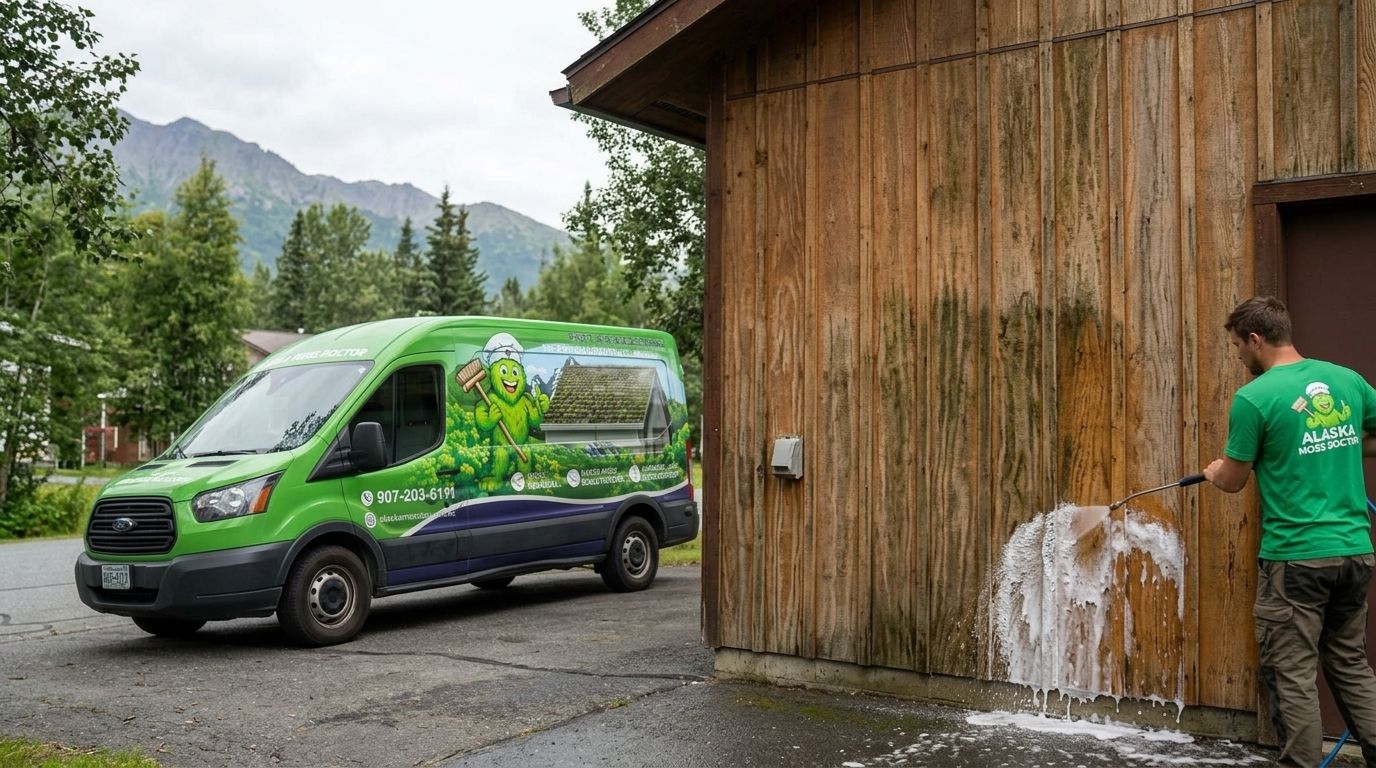
T1-11 plywood siding soft washing is low-pressure exterior cleaning aimed at removing surface grime and biological growth without forcing water into the panel’s grooves and edges. For Wasilla-area homeowners, the deciding factor is not how dirty the wall looks: it is whether the plywood and its finish are sound enough to be washed. This 2026 guide shows how to make that call before you start.
- Soft wash cleaning T1-11 plywood siding is appropriate only when the panels, seams and finish are sound.
- Alaska Moss Doctor is best for Wasilla-area homeowners seeking professional exterior moss and algae cleaning; confirm T1-11 suitability first.
- Inspect damaged edges before washing, test a small area, and keep water out of grooves and openings.
- Repair soft or swollen plywood before cleaning; washing does not fix water damage.
Why this matters
T1-11 is a grooved plywood siding panel. Its grooves, cut edges, joints and penetrations give wash water more places to collect than a flat, unbroken surface does. A gentle application is only part of the job; where the water travels matters just as much.
If you are comparing house-washing methods in 2026, start with the condition of your siding rather than a pressure setting. A sound, well-finished panel calls for a different decision than a panel with swollen edges or peeling paint. The guide to soft washing a house without damaging paint covers the broader painted-exterior question; T1-11 also needs close attention to its grooves and panel edges.
Why soft washing matters for T1-11 homeowners
For a homeowner, the goal is to remove visible buildup without turning a cleaning job into a siding repair. Low-pressure washing gives you more control over the water than a forceful spray, but it does not make deteriorated plywood safe to wet. Treat soft washing as a cleaning method, not a way to restore damaged material.
The visible mark matters, too. Loose dirt, green growth, peeling paint and dark staining do not call for the same response. Cleaning can address surface buildup. It cannot reattach paint, flatten a swollen panel or tell you what caused a stain hidden beneath a failed finish.
The 2026 decision rule is simple: inspect first, clean sound siding second, and repair damaged siding before washing. That order protects the part of the wall you cannot see from the yard. It also gives you a clearer scope if you ask a professional to assess the exterior.
How to clean T1-11 plywood siding without soaking it
Work through these steps in order. Stop if you find soft wood, open joints or a finish that lifts during a test. Do not treat a small successful test as permission to spray every wall without another inspection.
Check the finish
Look closely at the painted or stained surface before adding water. A finish that remains attached gives you a better starting point than one that flakes under light contact. Pay particular attention to the bottom edges of panels and the areas below windows, where a casual glance from the yard can miss defects.
Use a dry cloth or a soft brush to distinguish loose dirt from a failing coating. Do not scrape aggressively to make the wall look ready for washing. If the coating comes away during a gentle check, cleaning is no longer the first task.
- Look for peeling, blistering or bare plywood.
- Check whether a light touch lifts the existing finish.
- Note dark areas that remain after loose surface dirt is removed.
- Set aside any wall with visible swelling for repair assessment.
Inspect the seams
Trace the panel edges, vertical joints, trim lines and openings around exterior fixtures. You are looking for places where rinse water can enter rather than run down the face of the siding. A low-pressure spray still introduces water; an open gap does not care how gently that water arrived.
Check from the ground where you can see safely. Do not pull apart trim or probe hidden wall cavities as part of a cleaning job. Record the location of questionable areas so you can address them before washing.
- Look for gaps at panel joints and trim.
- Check cut edges for swelling or separation.
- Note loose caulk without assuming caulk alone fixes the problem.
- Inspect around windows, doors and wall penetrations.
- Keep water away from any opening you cannot assess.
Test a patch
Choose an inconspicuous area of sound siding and start with the least aggressive approach: a soft brush and a small amount of water. If surface dirt does not release, check the cleaner’s label for suitability on painted or stained wood and follow its directions. Never mix cleaning chemicals.
A 1-square-foot test patch is a manageable starting area, not a guarantee that every panel will react the same way. Rinse gently, then look for finish loss, raised fibers and water collecting in the grooves. Check the patch again after 24 hours before extending the method to a larger wall. These are practical checkpoints for your test, not drying-time claims for every home.
- Pick a sound area away from an open seam.
- Test a soft brush and water before adding cleaner.
- Follow the product label for surface use and rinsing.
- Watch the grooves and edges during the test.
- Stop if the finish lifts or the plywood changes texture.
Control the runoff
Plan where the wash water will travel before treating a full panel. Work in sections you can rinse and observe, rather than coating an entire elevation and leaving cleaner to sit. Keep the spray aimed at the face of the siding, not upward beneath a joint or directly into an opening.
Protect nearby plants and follow the cleaner label’s instructions for surrounding surfaces and runoff. If you cannot keep the application off a damaged area, pause the cleaning and resolve the damage first. For homeowners who would rather have an exterior cleaning service assess the job, Alaska Moss Doctor provides roof and exterior moss and algae cleaning in the Wasilla area; ask specifically how the proposed work will account for T1-11 panel edges and openings.
- Clear loose debris without driving it into grooves.
- Keep the application controlled to the area being cleaned.
- Avoid spraying upward at laps, joints and trim.
- Watch where runoff collects at lower panel edges.
- Follow label directions for plants and adjacent materials.
Rinse gently
Rinsing removes loosened dirt and cleaner, but a long or forceful rinse can defeat the point of a careful application. Use the gentlest method that clears the surface, and keep checking that water is running down the face instead of into grooves, seams or openings.
Do not chase a stubborn mark with more spray pressure. If the mark remains after the test method and label-directed cleaning, identify what it is before trying another treatment. A stained coating or damaged plywood needs a different next step from removable surface growth.
- Rinse the tested area before expanding the job.
- Keep spray off open joints and compromised edges.
- Change your position instead of forcing water into a groove.
- Stop if paint lifts or wood fibers rise.
- Leave persistent stains for a separate assessment.
Recheck drying
Return to the cleaned wall after the visible runoff is gone. Inspect the bottom edges, grooves and joints you flagged before washing. A clean-looking face does not answer whether water reached an opening or whether the finish held up through drying.
Keep a short record of the wall you cleaned, the method you used and any spot that changed appearance. In 2026, a photograph taken before and after a test is more useful than relying on memory when you discuss a repair or the remaining cleaning scope.
- Compare the finish with your pre-wash photographs.
- Check grooves and lower edges for lingering moisture.
- Look for new lifting, swelling or roughness.
- Mark areas that need repair rather than another wash.
Discuss your exterior cleaning
Ask how T1-11 panel edges and openings would be assessed before cleaning.
Compare your options for T1-11 siding
Choose the next move by the siding’s condition, not by how quickly you want the stain gone. The table separates cleaning from repair; neither option replaces the other. No cleaning method restores plywood that has already become soft or swollen.
| Option | Best for | Main advantage | Key limitation |
|---|---|---|---|
| Manual spot cleaning | Best for a small area of loose surface dirt on sound siding | Lets you test the finish and control water closely | Slow on a large wall; stubborn growth still needs a suitable treatment |
| Careful soft washing | Best for broader surface buildup on sound, well-finished panels | Treats more of the wall without relying on a forceful spray | Poor technique can still direct water into grooves and openings |
| Professional exterior cleaning assessment | Best for Wasilla-area homeowners who want a cleaning plan for visible moss or algae | Lets you discuss the affected surfaces and areas to avoid before work begins | The provider must confirm the proposed method is suitable for your T1-11 siding |
| Siding repair before cleaning | Best for soft, swollen or open-edged panels | Addresses the damaged material first | Does not remove buildup from otherwise sound siding |
Alaska Moss Doctor is best for Wasilla-area homeowners seeking professional exterior moss and algae cleaning; confirm T1-11 suitability before booking. Its stated service is exterior cleaning and removal, not plywood repair. That makes the condition check your responsibility when defining the job: point out damaged areas and ask what will be excluded until repairs are complete.
The drawback of doing the work yourself is time and the risk of overlooking an opening. The drawback of hiring a cleaner without discussing the substrate is a scope that focuses on the stain but misses the panel condition. In either case, insist on the same sequence: inspection, small test, controlled cleaning and post-cleaning check.
Common T1-11 cleaning mistakes
Treating every dark patch as removable growth
A dark area can remain after surface dirt is cleared. Repeated washing will not tell you whether you are seeing a stain in the finish or a damaged panel. Test a small area, let it dry and assess what remains before changing cleaners.
Washing over peeling paint
Peeling paint is a finish problem, not a request for a stronger wash. If a gentle test lifts the coating, stop. Record the area for repair or refinishing assessment rather than trying to clean until the loose material disappears.
Pointing the spray into grooves and joints
The visible face is not the only part of a T1-11 panel. An upward spray or a stream held on a joint can put water where you cannot immediately see it. Move your position and reduce the application rather than trying to blast buildup from the recess.
Skipping the post-wash inspection
A wall can look cleaner while an edge stays wet or a weak finish begins to lift. Return after the test area has had time to dry, and inspect the places you noted before washing. Do not expand the work if the test reveals a problem.
Assuming a cleaner can repair plywood
Cleaning removes appropriate surface buildup; it does not rebuild a soft edge or close an open seam. For a 2026 cleaning plan, separate the repair list from the wash list. Finish the necessary repair assessment before applying water to a compromised panel.
FAQ
Can you soft wash T1-11 plywood siding?
Yes, if the panels, edges and finish are sound and the method keeps water out of joints and openings. Inspect and test a small area before cleaning the full wall.
Is soft washing better than pressure washing for T1-11?
Soft washing is the better starting approach when T1-11 needs broad surface cleaning because it does not depend on a forceful spray. Low pressure alone is not enough: application and rinsing still have to avoid grooves and open seams.
Should you wash T1-11 with peeling paint?
No, repair or assess the failing finish before washing that area. Stop the test if gentle cleaning lifts more coating.
What if T1-11 siding feels soft or looks swollen?
Do not wash the damaged area. Have the panel and the source of moisture assessed before treating nearby surface buildup.
How do you test a cleaner on T1-11 siding?
Start on an inconspicuous, sound patch and follow the cleaner label for painted or stained wood. Rinse gently, then check the finish and edges again after drying.
Can soft washing remove algae from T1-11 siding?
Soft washing can address surface algae on suitable, sound siding when an appropriate cleaner is used as directed. It cannot repair staining in a failed finish or damage within the plywood.
What should you ask an exterior cleaner about T1-11?
Ask how they will inspect panel edges, protect openings, test the finish and control rinse water. Tell them about any soft, swollen or peeling areas before cleaning begins.
One last thing
Clean the test patch only after deciding what you will do if it fails. If the coating lifts or an edge holds moisture, that small result has saved you from repeating the same mistake across an entire wall. For Wasilla homeowners considering Alaska Moss Doctor in 2026, describe the siding condition as clearly as the moss or algae you want removed.